Scheduling a well pump installation in Tampa is a smart move — but the day your crew arrives isn’t the time to figure out where your well casing is or whether the breaker is locked out. A little preparation on your end makes the job safer, faster, and smoother for everyone. The steps below walk you through exactly what to do before the technicians pull up to your property.
Why Preparation Matters for Well Pump Installation in Tampa
Tampa’s water supply sits deep in Florida’s porous limestone aquifer system. Submersible pumps here work hard against the unique chemistry of that groundwater — dealing with sulfur compounds, dissolved minerals, and occasional sand intrusion from shifting formations. That means the installation itself requires precision, and anything that slows down site access or creates confusion around your electrical system adds unnecessary risk and time to the job.
Whether you’re replacing an aging pump on a Hillsborough County well or upgrading to a high-efficiency Grundfos pump installation, the prep work is largely the same. Follow these steps in order.
Step-by-Step: How to Prepare Your Property
Step 1: Locate Your Well Casing
Your well casing is the pipe that sticks up from the ground — usually four to six inches in diameter, capped, and sometimes surrounded by a small concrete pad. Find it before installation day. If it’s buried under overgrown landscaping or hidden behind equipment, clear it out now. The crew will need unobstructed access to pull the existing pump and drop the new one.
If you genuinely cannot find your well casing, check your property’s original well completion report. In Florida, these are filed with the Southwest Florida Water Management District (SWFWMD) and are searchable online. Your well driller may also have records on file.
Step 2: Shut Off Power to the Pump Circuit
Before the crew arrives, go to your electrical panel and identify the breaker that controls your well pump. It’s typically a double-pole 240-volt breaker labeled “well pump” or “pump.” Switch it off and use a breaker lockout clip if you have one. Do not attempt to disconnect wiring yourself — leave that to the licensed technicians. Your job is simply to cut power at the panel so there’s no live current running to the pump when the crew starts work.
If your property has a separate disconnect box near the well, shut that off as well. Let the installation team know you’ve done this when they arrive.
Step 3: Clear a Work Area Around the Well Head
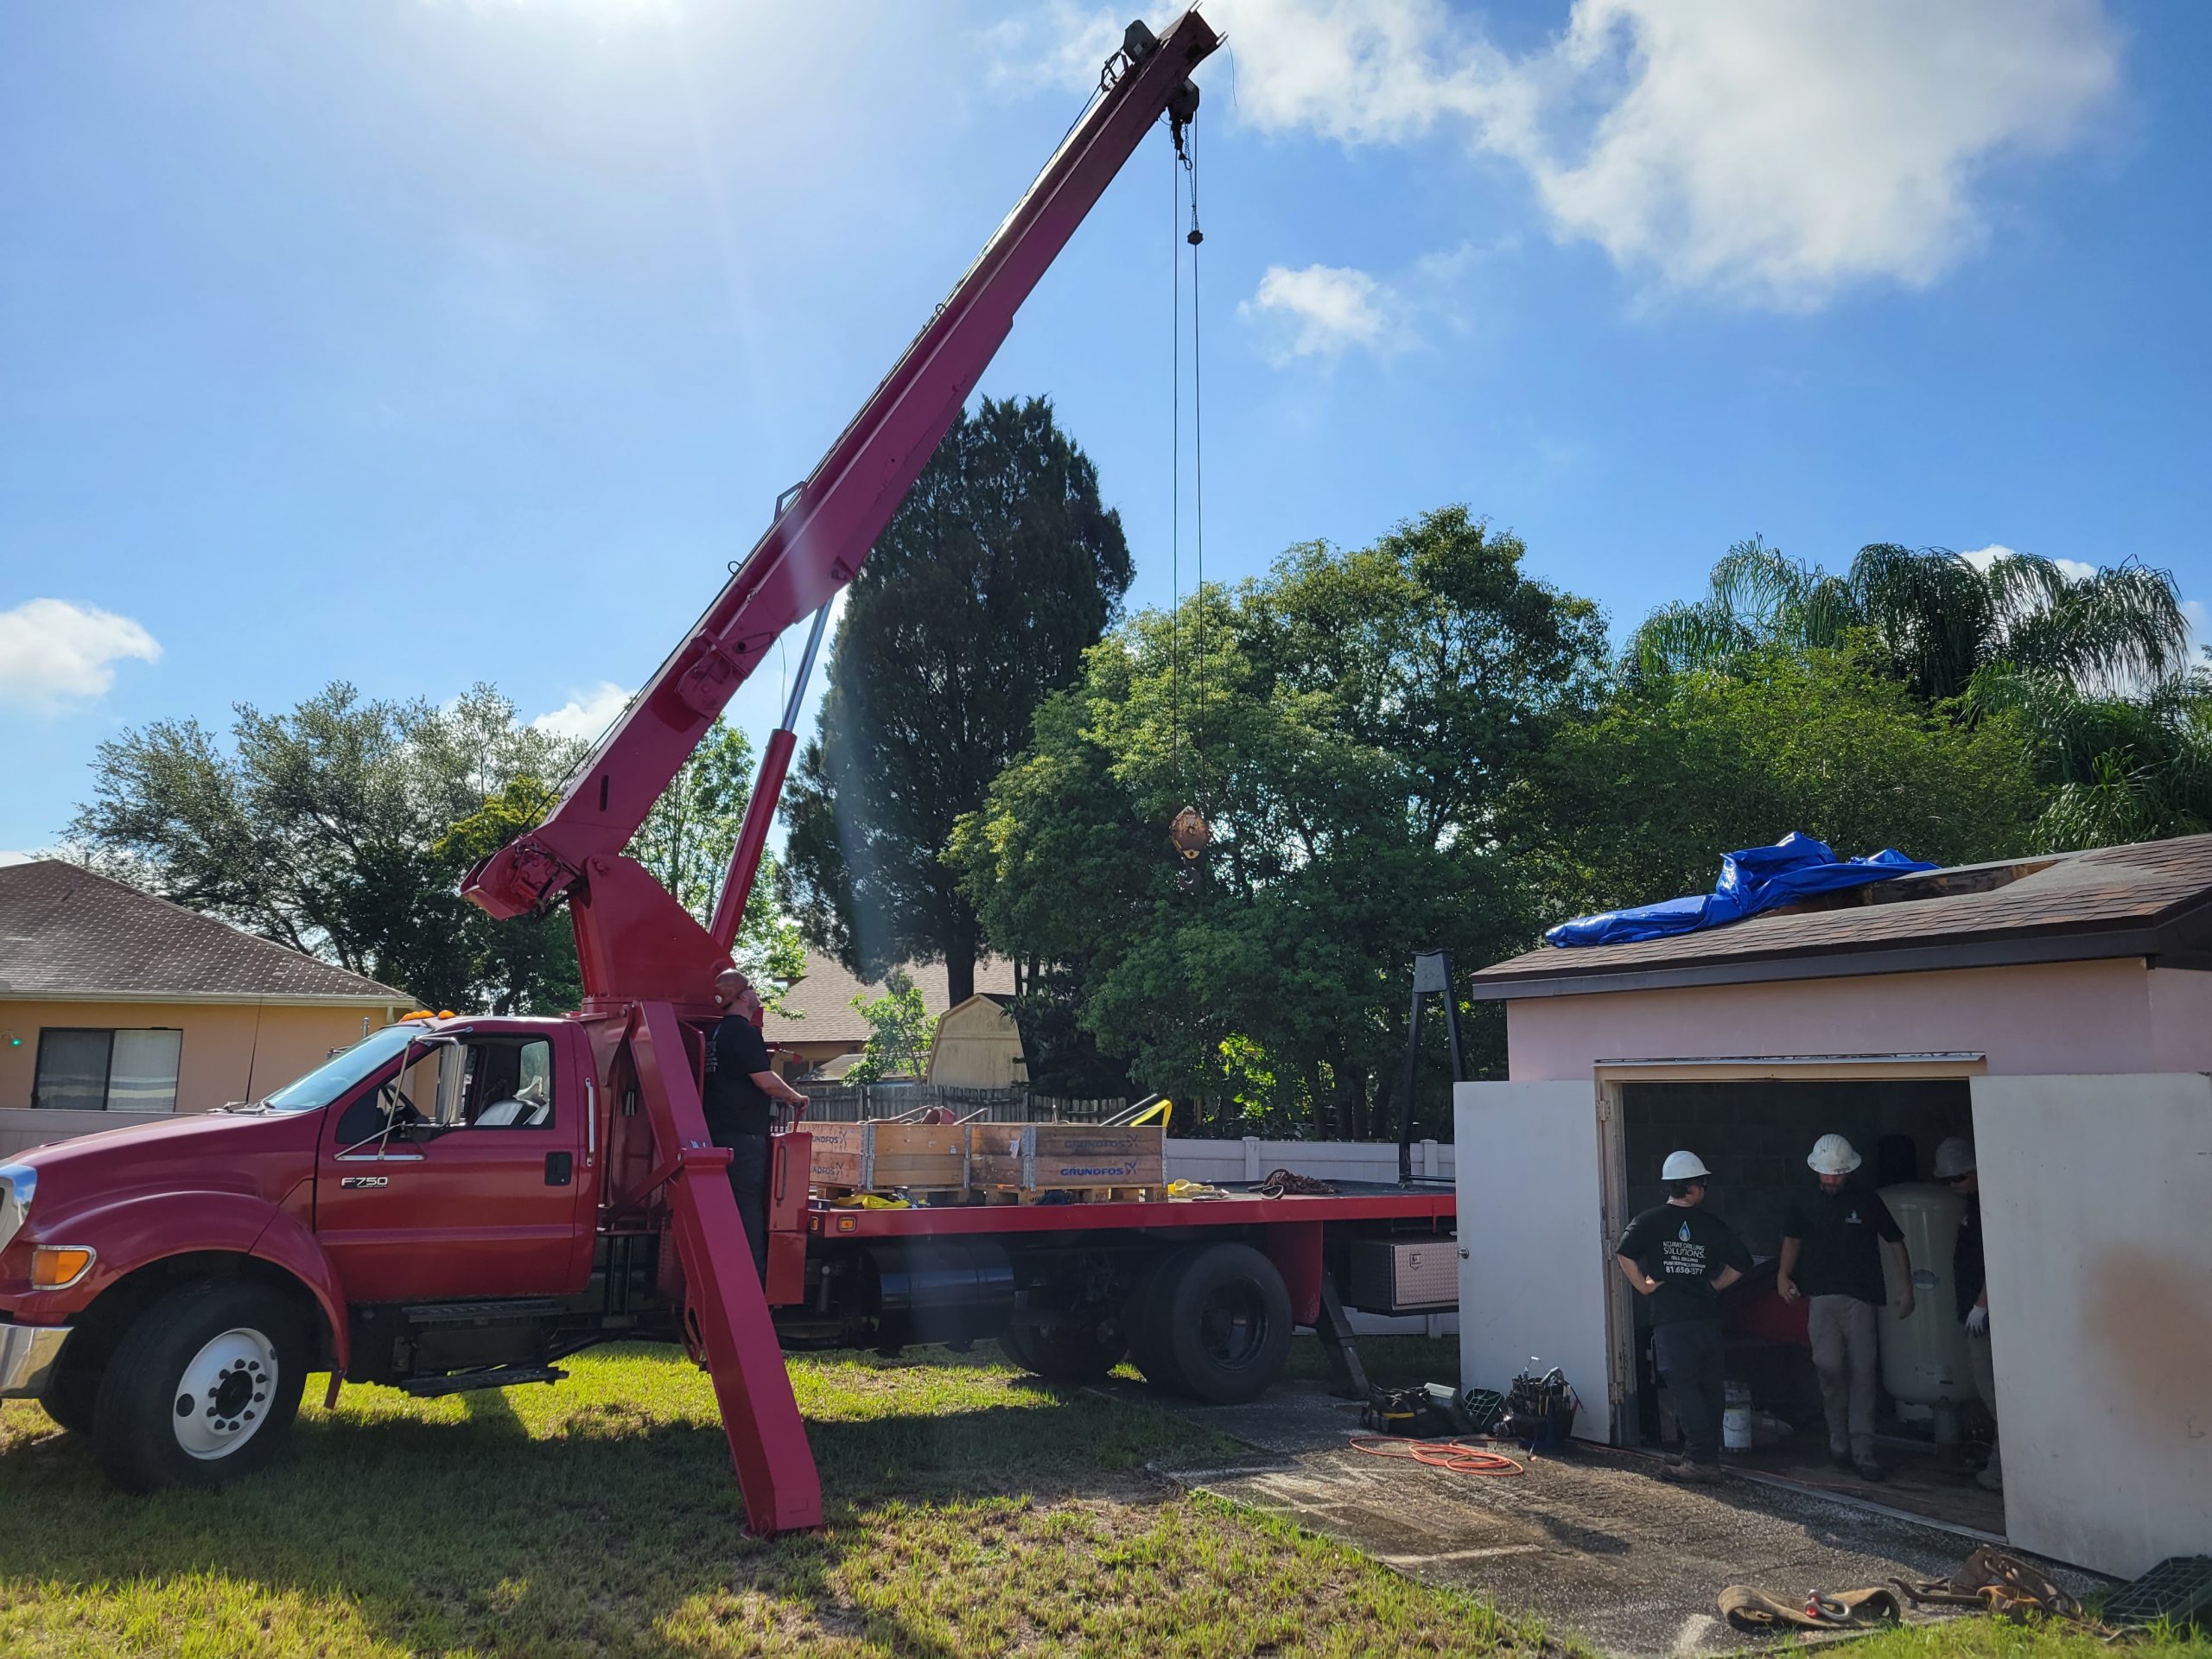
Installation crews bring equipment — pipe, wiring, tools, and sometimes a pump hoist or lift for deeper submersible pump installations. Clear at least 10 feet of open space in every direction around the well casing. Move potted plants, lawn furniture, hoses, vehicles, and anything else that creates clutter or a tripping hazard.
In Tampa’s rainy season, the ground around your well can get soft quickly. If recent rain has left the area muddy, lay down plywood or rubber mats to give the crew a stable surface to work on. This small step prevents ruts and protects your lawn.
Step 4: Identify Your Pressure Tank and Related Plumbing
Your pressure tank is typically located in a utility room, garage, or exterior pump house. Know where it is and make sure there’s a clear path to it. The installation team may need to inspect or service the pressure tank during a Tampa well pump replacement, especially if the existing system has been running low on pressure or short-cycling.
Take note of any shutoff valves between your pressure tank and the rest of your home’s plumbing. If you know how to close them, do so before the crew arrives — this prevents backflow when the system is opened up.
Step 5: Collect Your Well and System Documentation
Dig up any paperwork you have on your well: the original well completion report, previous service records, pump model information, and any water test results. This information helps the installation team make the right equipment choices — particularly important when selecting a replacement pump that’s properly sized for your well depth and water demand.
If you’ve noticed water quality issues — sulfur smell, discoloration, gritty water that suggests sand intrusion — mention this when the crew arrives. These are common concerns in Hillsborough County, and the technicians need to know so they can assess whether additional components are needed alongside the new pump.
Step 6: Make Sure Site Access Is Clear for Equipment
Service trucks and equipment trailers need a clear path to your well. Unlock any gates, move vehicles from the driveway, and trim back any low-hanging branches that might block a taller work vehicle. If your well is in a backyard that requires driving through grass, let the office know ahead of time so the crew can plan accordingly.
For HOA communities, CDDs, or commercial properties across the Tampa Bay area, coordinate with your property manager or association board in advance. Notify neighbors if equipment will be parked near shared access points.
Step 7: Plan for Water Interruption
You will not have running water during the installation. Fill pitchers, pots, or a cooler with water beforehand for drinking and basic use. If you have livestock, a pool that needs topping off, or irrigation schedules that run during the day, adjust those in advance. Most residential submersible pump installations are completed within a few hours, but having a water reserve on hand prevents disruptions.
Step 8: Communicate Anything Unusual About Your System
Has your pump been making grinding or humming noises? Have you noticed pressure drops at certain times of day? Is your water heater connected directly to the well line without a filtration stage? Tell the crew. The more context the technicians have before they start, the better equipped they are to do the job right the first time.
The team at Accurate Drilling Solutions in Tampa works with a wide range of residential and commercial well systems across Hillsborough County. Sharing what you’ve observed — even if it seems minor — helps them identify whether any secondary issues need attention during the visit.
What the Installation Crew Will Handle
Once your prep work is done, the licensed technicians take over. A professional well pump installation and pump service typically includes pulling the existing pump from the casing, inspecting the drop pipe and electrical connections, setting the new submersible pump at the correct depth, and restoring system pressure. If you’ve upgraded to a Grundfos pump installation, the crew will also verify that the motor and controls are correctly configured for your well’s depth and flow rate.
After the install, expect the technicians to run the system through several cycles, check static and dynamic water levels, and confirm pressure tank operation before they leave your property.
A Note on Timing Your Installation
Tampa’s summer storm season — roughly June through September — puts significant stress on well systems. If your pump is aging or showing warning signs, scheduling a new well pump preparation and replacement before peak season is a practical move. Waiting until a pump fails during a storm or a high-demand period often means going without water when you need it most. Maintenance agreements can also help you stay ahead of failures year-round.
If you’re ready to move forward or want to talk through what your specific property needs, the Accurate Drilling Solutions team is easy to reach at 813-643-6161. They serve Tampa and the broader Hillsborough County area, along with communities throughout Pinellas, Pasco, Polk, Hernando, Manatee, and Sarasota counties.
Frequently Asked Questions
How long does a submersible pump installation typically take?
Most residential submersible pump installations are completed in two to four hours, depending on well depth, pump size, and whether any secondary components like the pressure tank or control box need attention. Deeper wells or systems with older, corroded drop pipes may take longer. Your technician can give you a more specific timeframe once they’ve reviewed your well setup.
Do I need a permit for a well pump replacement in Hillsborough County?
In Florida, pump replacements on existing wells typically do not require a new drilling permit, but requirements can vary by county and scope of work. Hillsborough County and SWFWMD have specific regulations regarding well work. A licensed well contractor will know which permits, if any, apply to your installation and will handle that process as part of the job.
What type of pump is best for Tampa-area wells?
Most residential wells in the Tampa area use submersible pumps because they’re efficient, quiet, and well-suited to Florida’s deep aquifer conditions. High-efficiency models like Grundfos submersible pumps are a strong choice for their reliability and energy performance. The right pump size depends on your well’s depth, yield, and your household’s water demand — all factors a licensed technician will evaluate before making a recommendation.
Why does my Tampa well water smell like sulfur, and will a new pump fix it?
Sulfur odor in well water is common across Hillsborough County and the broader Tampa Bay region. It comes from hydrogen sulfide naturally present in Florida’s limestone aquifer system — not from the pump itself. A new pump won’t eliminate the smell, but pairing the installation with a properly sized water treatment system will. Let your technician know about the odor so they can assess your full setup.
Can I stay home during the well pump installation?
Yes, and it’s often helpful. Being available means the crew can ask questions, get quick access to your electrical panel or pump house, and walk you through the completed work before they leave. You don’t need to supervise the job — the technicians are experienced — but being reachable by phone or on-site tends to keep the process moving without delays.
How do I know if my pressure tank also needs to be replaced?
Common signs of a failing pressure tank include short pump cycles, waterlogged pressure, a tank that feels completely solid when tapped, or visible corrosion on the tank body. During a well pump replacement, a qualified technician will inspect the pressure tank as part of the visit and let you know whether it needs attention. Replacing both components at the same time — when warranted — can save a return service call down the road.
continue reading
Related Posts
Plant City property owners rely on private wells that can show subtle warning signs long before a full failure occurs. This checklist covers the key indicators — from declining yield and sulfur odor changes to sediment increases and aging well structure — that signal it's time for a professional water well evaluation.

Bradenton well owners should know the early warning signs of a failing pump before a minor issue becomes a full system failure. This checklist covers pressure fluctuations, air in faucets, sand intrusion, unusual cycling, and other symptoms tied to Manatee County aquifer conditions. Catching these signs early can prevent costly emergencies.

Improperly closing an old well in Lakeland or Polk County can trigger permit violations, groundwater contamination liability, and complications during property sales. This article outlines the most common well abandonment mistakes and explains exactly how to avoid each one.