Last week began reviewing the step-by-step process of what it takes to drill a well. We went over quite a bit, including the planning process, the drilling process, as well as installing the well casing. This week we will continue discussing the step-by-step process for drilling a well. Read on to learn how the rest of the process happens.
Step Four – The Screen Goes In
While the casing is essentially the lining for the well. The well screen actually is a type of filter. Well screens are fitted at the base of the shaft and all water going through the well has to pass through the screen. The screen has a series of small slots in it that capture small particles such as dirt and other sediments.
Step Five – The Other Components
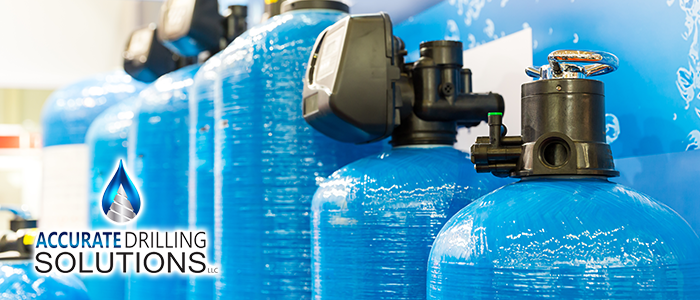
Do variety of other components that also need to be installed. 1st and foremost there’s the well pump. The well pump is essentially the beating heart of the well, it is what actually pulls the water out of the aquifer. There are many different types of well pumps ask your well contractor what works best for you.
In addition to the pump, there is also the pressure tank and pressure switch. The system is essentially the emergency turn off for a well. If the home is pulling too much water from the well and the water pressure goes up, the switch turns the well off. This is to preserve all of the well components and prevent any of them from breaking.
Step Six – Grouting
Once the casing has been installed, there is a small gap between the casing itself and the actual wall of the shaft that was drilled. If this space is left unfilled there is potential for well damage, as well as environmental interference. Contractors fill this space in with something called grout. It essentially keeps the shaft in place and prevents outside influences from getting to the well. This even includes factors such as animals that might be digging underground.
Step Seven – Cleaning, a.k.a. Developing
What well contractors called developing the rest of the world might call cleaning. Essentially, developing is getting out anything that has fallen into the well. This is especially common during construction, particle that shouldn’t be there fall in. The contractors use air or water to blast out any excess sediment or particles. It is also possible for settlement to build up at the bottom of the well due to aquifer activity.
Step Eight – The Test Runs
This is the final step in the step-by-step process for drilling a well. Before any humans use the water from the well, it is best to do a few trial runs. After running water through the well a few times, contractors will also conduct a water quality and safety test. If everything comes back fine, congratulations you have your own private water well.
continue reading
Related Posts
Water Conservation Tips for Clearwater Well Owners Living in beautiful

North Port’s Guide to Well System Upgrades For homeowners and
Bradenton Commercial Water Solutions Explained Businesses in Bradenton and the