

Becoming a well owner is a huge responsibility. Part of a good well contractor’s job is to make the entire well installation process seem less daunting while remaining as honest as possible. With this in mind, this week we are breaking down how exactly a well gets drilled, step-by-step. Read on to learn the step-by-step process for drilling a well.
Step One – Picking Out The Location
This step is a preamble of what is to come. It occurs during the consultation period while you are working with a well installation contractor. The contractor will come to your property and pick out the location that is best for your well. He or she will consider factors such as type of soil, depth to an aquifer, and how much land you have. Additionally, they will take your budget into consideration. Shallower wells cost less, as well as certain components changing the price. Make your budget very clear to your contractor and they will work with you.
Essentially this is the planning period for your well installation. Now is the time to ask the contractor any questions you may have. A good well contractor is ready and willing to answer any questions that you may have about well installation processes.
Step Two – The Actual Drilling Part
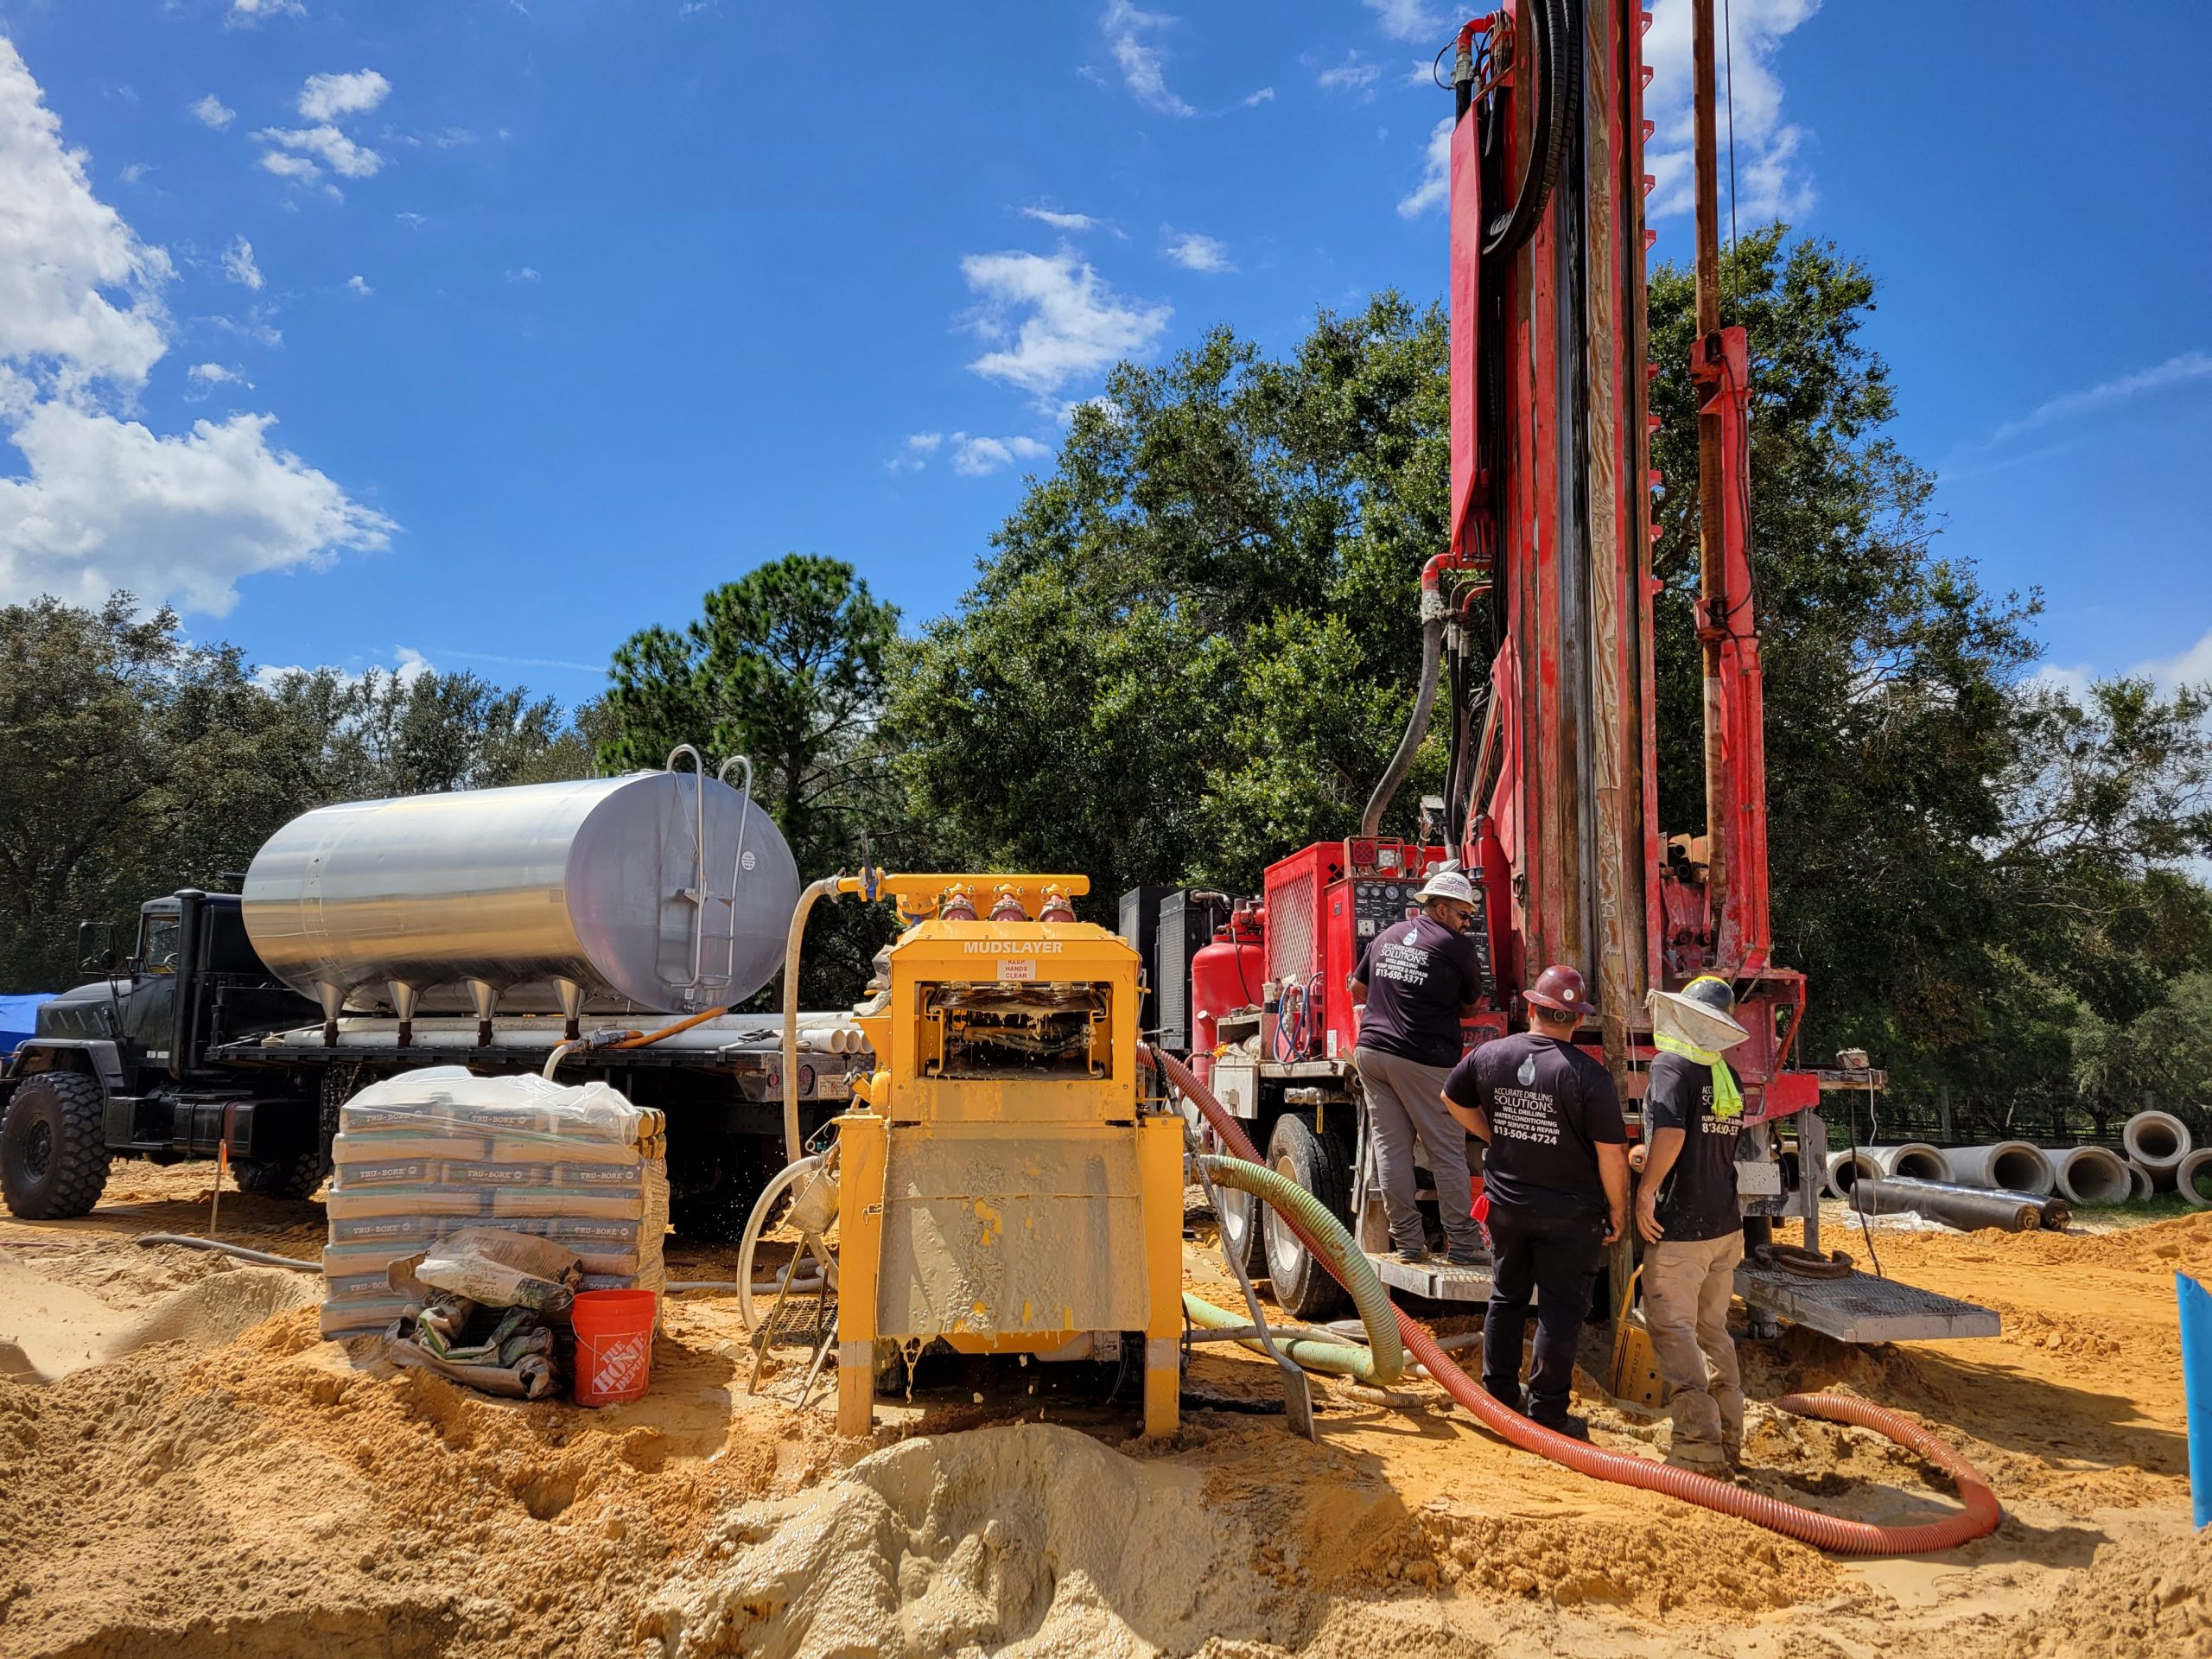
After all the planning is done, it is time to finally start the well. The first step is actually drilling down into the ground. The hole created during the drilling becomes the actual well shaft. There are a variety of tools that contractors can use to make the shaft in the ground. However, no matter what tool they use the results are essentially the same. The drill pushes down into the earth, breaking through layers of rock and dirt. All of the debris is removed and placed in a separate pit, dumpster, or pile.
The contractor has to be very careful during the drilling process. If they go too fast, or are trying to push too deep, the shaft may collapse. That will cause the entire drilling process to have to start over. The re-do might even include the planning process. This is because a collapsed shaft often makes ground too weak and unstable to get down to the aquifer.
Step Three – The Parts Start To Go In
Once the shaft of the well is drilled, it is time to start putting the different components of the well in place. The first component to go in is the well casing. The well casing is essentially the lining for the shaft. It is a long plastic or metal tube that has a diameter of approximately half a foot. The casing travels all the way from the aquifer up to the surface. The casing is sealed with a well cap on top.
Join Us Next Week
For the rest of the step-by-step well drilling process.
continue reading
Related Posts

Timing your water well drilling in Spring Hill around Hernando County's rainy season, hurricane season, and contractor availability can make a significant difference in how smoothly your project goes. This guide breaks down the seasonal factors that should shape your scheduling decision, from ground saturation and site access to permit lead times and aquifer conditions.
This frequency guide explains how often geothermal supply wells in Dade City should be professionally inspected and serviced. It covers how water usage volume, Pasco County limestone aquifer conditions, and seasonal demand shifts affect the right maintenance cadence for your property.

Deciding between well pump repair or replacement in Parrish comes down to pump age, failure history, and local water conditions. This guide breaks down the key factors Manatee County homeowners should evaluate before making the call.